Today’s Christmas Garland DIY project is a really simple project…yet I almost decided to not share it because this was my first time making a garland and it just didn’t turn out like I wanted it to! Not all DIY projects work out the way we want them too but I still thought it was cute enough to share!
I decided to make a garland because I wanted to make some Christmas decor utilizing things I already had so I didn’t have to spend any extra money. For this project, everything used I had on hand already. Supplies included twine/jute rope, floral wire, letter decals, Christmas pine tree clippings, ribbon, and wood slices.
Note, this post contains some affiliate links. For more information see my disclosures here.
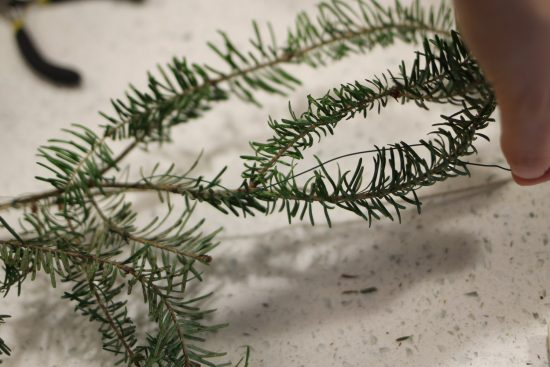
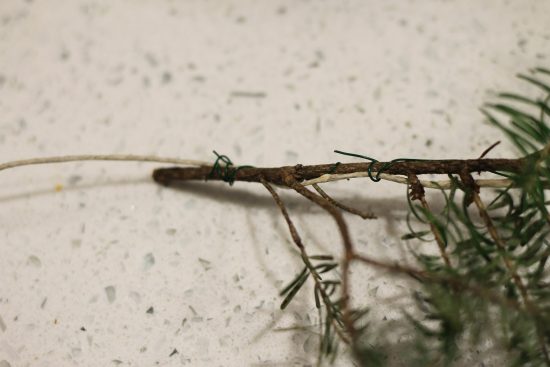
First, I started wrapping green floral wire around the pine tree clippings (from our Christmas tree) and twine to make the garland. It took a few layers of the pine clippings on the twine till it actually looked like a garland.
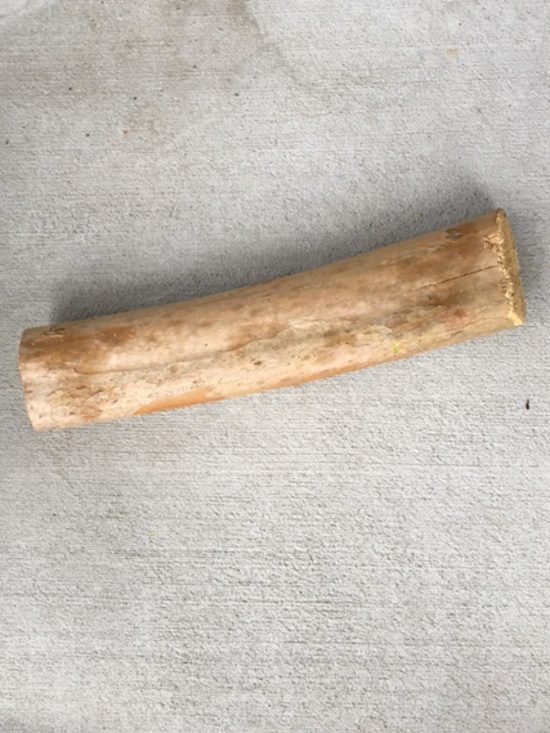
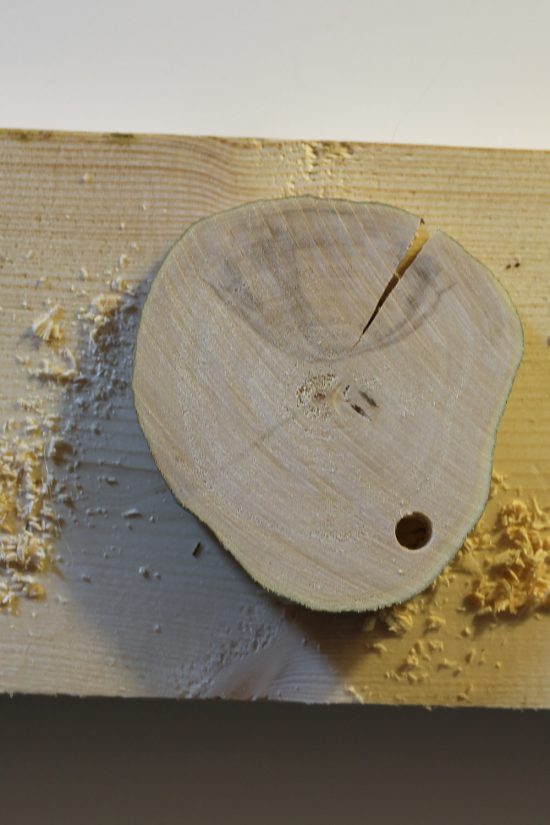
Then, I used my mini miter saw and cut some wood slices from the leftover tree branches we had from our Rustic Tree Branch Desk project. I drilled a hole through each wood slice.

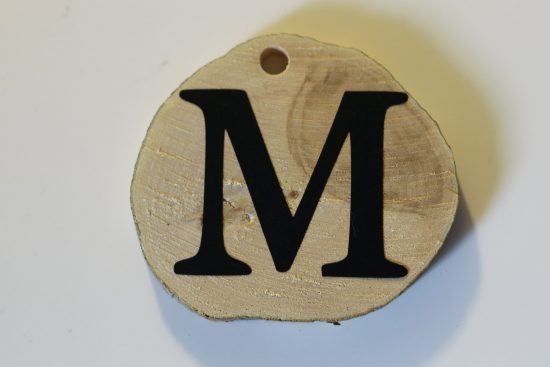
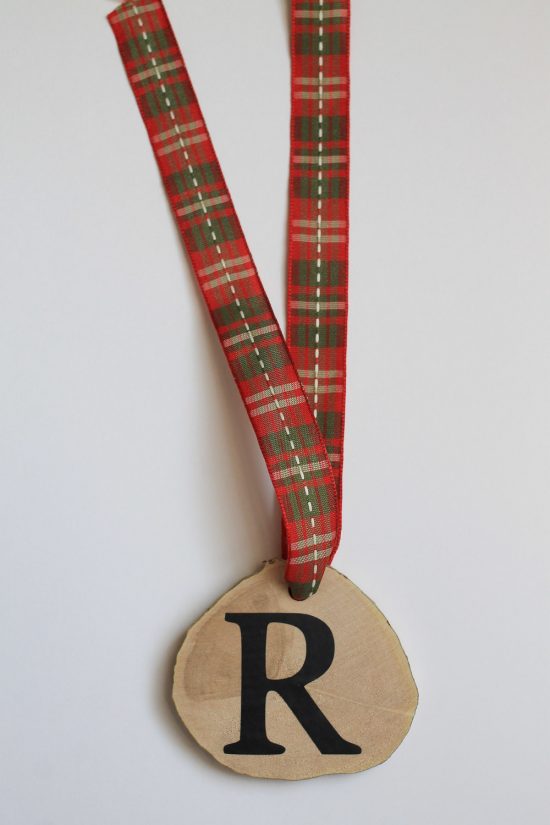
For the lettering “Merry & Bright” I chose to use vinyl decal letters since I didn’t have much time, although I do prefer to paint the letters on wood more. You can also use letter stickers sold at craft stores if you’re in a time crunch too. Then, I threaded Christmas ribbon through the holes on the tree branch wood slices.
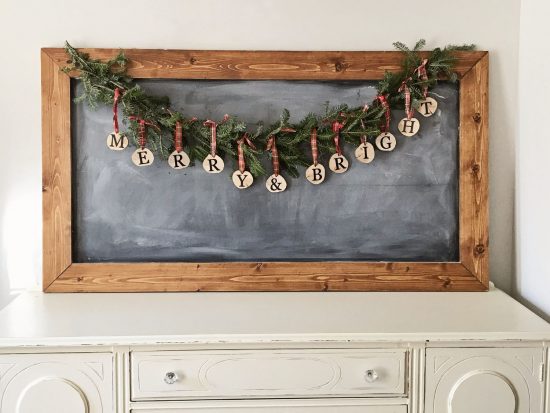
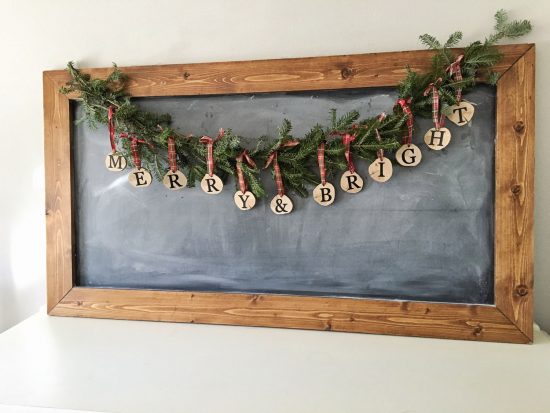
Finally, I tied the ribbon wood slices to the pine garland! And that’s it! I’m not sure exactly where I am going to keep it, but I am liking it hung on our oversized chalkboard!

I’m keeping the rest of our Christmas decor really simple this year since we are going to be visiting family over the holidays. What do you think of my DIY rustic Christmas garland? Follow along on Instagram and Facebook for my latest projects, as well as Pinterest!
Angie
Saturday 31st of October 2020
Where did you get your chalkboard?
Angela Marie Made
Monday 2nd of November 2020
I got it at home depot, they come in 2 ft x 4 ft pieces
Terri-Ann Hamm
Friday 8th of November 2019
Hi! Love this tutorial! Thanks for sharing! What size are your wood slices? What size is the letter you place on the wood slices?
Angela Marie Made
Sunday 10th of November 2019
Thank you! The wood slices were about 3-4". I don't remember exactly what size the letters were, but I think they were probably about 2.5" or so.