I’ve always loved making things for as long as I can remember. Back when I was in college, on one of my summer breaks, I decided to make myself a DIY jewelry organizer. Pinterest didn’t exist at the time and I didn’t really know what I was doing, but I managed to create a jewelry organizer so I could easily see all of my necklaces. Here is a photo of it:
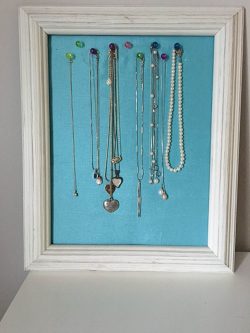
It’s not my style these days and it’s falling apart (I didn’t exactly build it to last many years at the time I made it), but I still have it today because it was very functional as far as displaying my necklaces. Finally, after a few years of wanting to make a new one, I finally did! And this project really stumped me! I wanted my new jewelry organizer to be pretty, rustic, a bit feminine, pretty simple to make, sturdy, and most of all functional! I also wanted it to be able to hold my longer necklaces since my first jewelry organizer lacked that feature. After playing around with some different ideas, I ended up with a similar concept to my first jewelry organizer, yet this one was much improved and met all of my needs!
Here is the tutorial on how to build this DIY jewelry organizer:
Note, this post contains some affiliate links. For more information see my disclosures here.
Tools Needed:
- Drill
- Miter saw
- Circular Saw (or have your home improvement store make the cuts)
- Brad Nailer (or you could use a hammer and nails)
- Staple Gun
Materials Needed
- 1/2″ or 3/4″ thick plywood panel at 2ft x 2ft
- (1) 1×2 @ 8ft
- 1 1/4″ brad nails
- Wood Stain
- Fabric – about 21″ x 26″ (I used a linen blend fabric)
- 1/4″ staples (for staple gun)
- 7/8″ Cup hooks
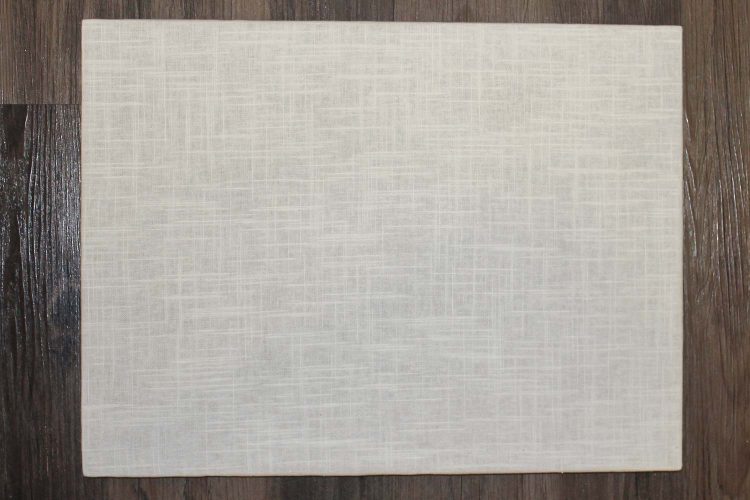
- Use a circular saw and rip (cut) your 2ft x 2ft plywood panel to 15″ x 20″ or have your home improvement store make the cuts for you. Note, if you’d like your DIY jewelry organizer to be a different size feel free to do custom dimensions here. Make sure your fabric is about 6 inches wider and longer than your cut plywood piece which is going to be the backing for your jewelry organizer.

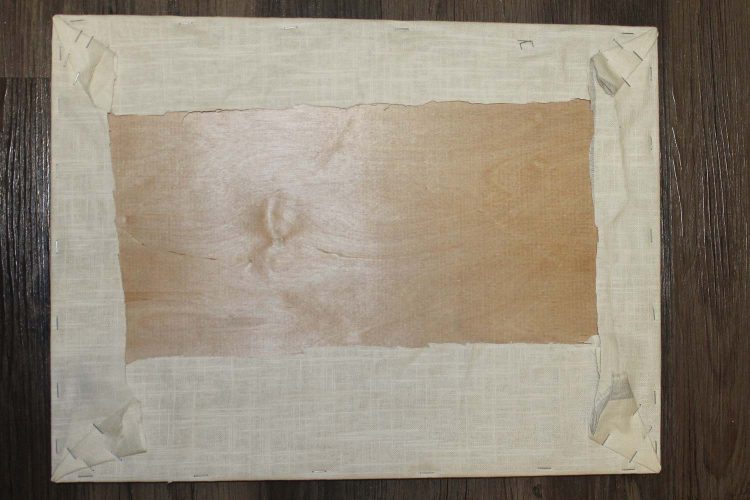
2. Attach your fabric to your plywood backing piece using a staple gun and 1/4″ staples and wrapping the excess fabric tightly around the back of the plywood. Start by attaching one edge at a time and then folding the corners in as shown in the below left photo.
P.S. Sorry for the poor lit photos here, I always seem to be doing these projects at night!
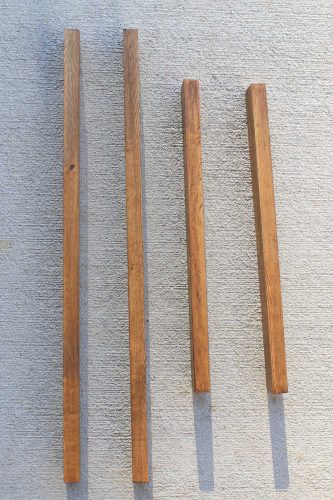
3. Time to make the framing of the jewelry organizer! After your fabric is attached to your plywood backing, measure the width of your plywood backing. Then, use your miter saw to cut two pieces from your 1×2 wood of this exact width. The width should be just about 15″ but it depends on the thickness of your fabric and how much that added in size.
Next, measure the length of your plywood backing and add 1.5″ to that length. Then, use your miter saw to cut two pieces from your 1×2 wood of the length plus the 1.5″. It should be around 21.5″ again depending on the thickness of your fabric.
After your cuts have been made, stain your wood frame pieces. For tips on how to stain wood for a beautiful finish, check out my tutorial here.
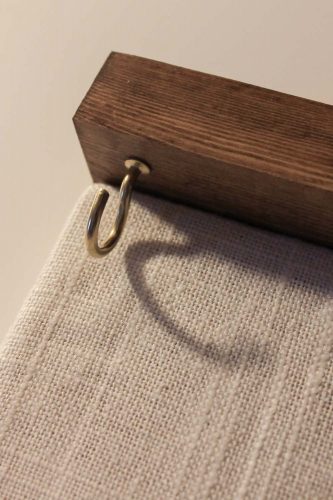
4. On the top wood frame piece, drill a pilot hole about 1/2″ – 3/8″ down from the side edge. Then, screw in one of your cup hooks using your hand (note, there is a drill attachment that will do this for you much faster). Go ahead and test the location of this first cup hook by holding your frame piece up against the top edge of your plywood backing and make sure the hook doesn’t hit the plywood backing.
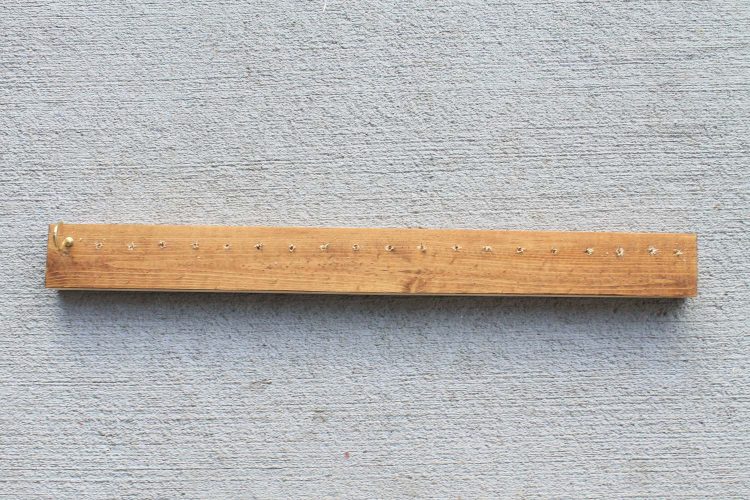
Then, go ahead and drill the rest of your pilot holes for your cup hooks, leaving 3/4″ in between each hole. It helps to mark these with a ruler first. After your pilot holes have been drilled, screw in the remaining cup hooks.
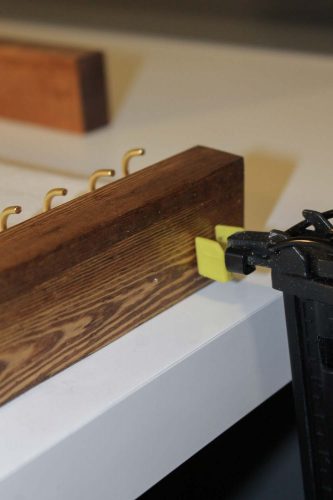
5. After all of your cup hooks have been screwed in to your top frame piece. Attach it to the top edge of your plywood backing with a brad nailer and 1 1/4″ brad nails. Then, finish attaching your 3 remaining wood frame pieces.
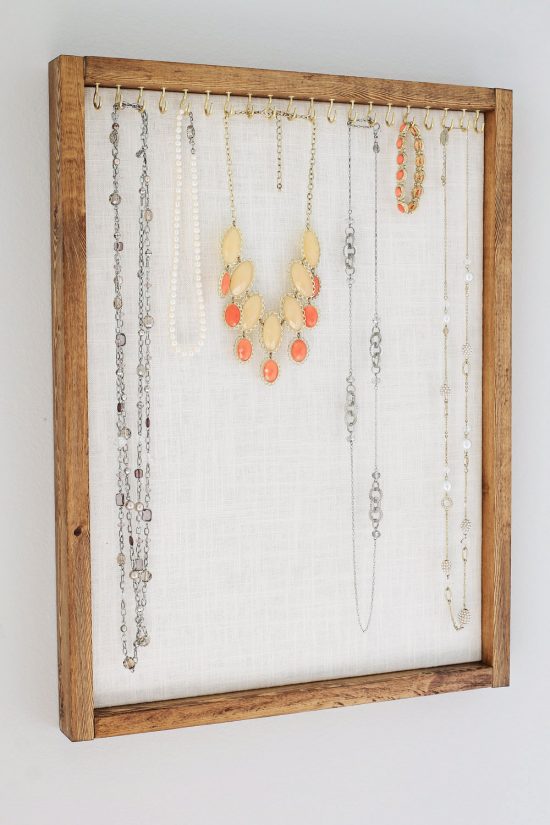
Your DIY jewelry organizer is complete!!! Go ahead and hang some pretty jewelry on it!
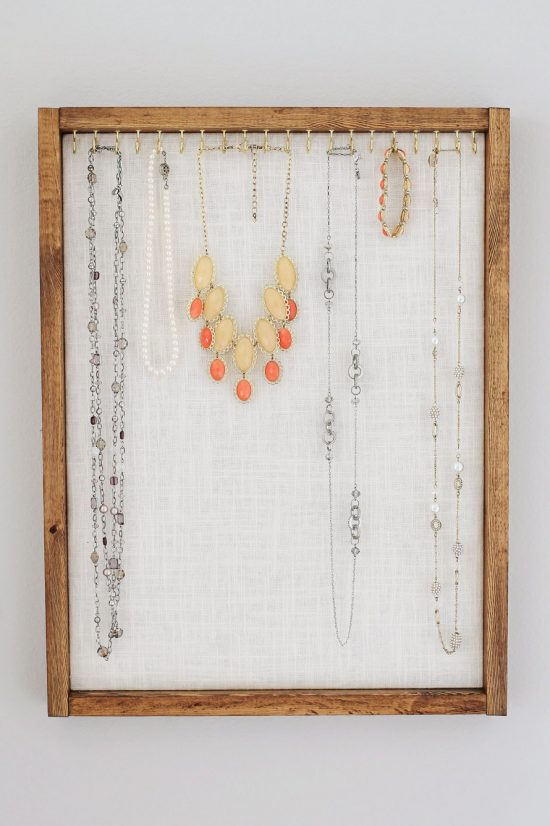
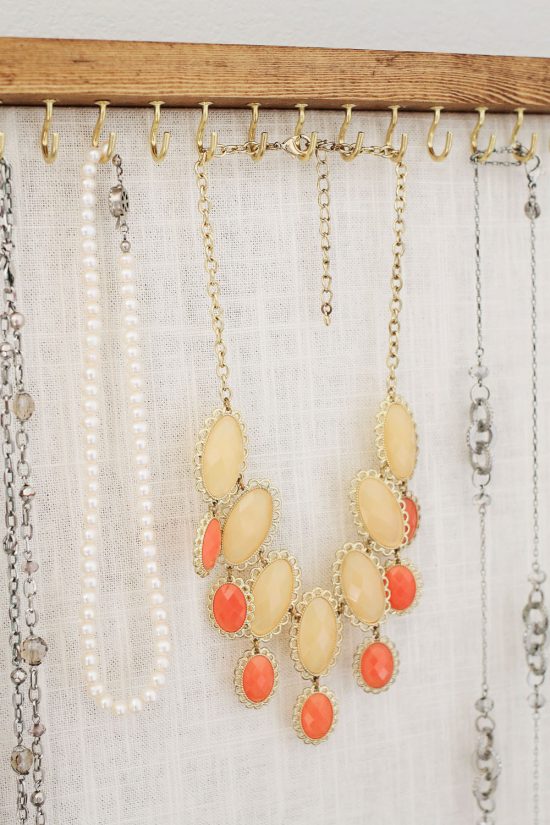
What do you think of my Jewelry Organizer DIY? I think it met all of my needs from being pretty to functional and just the right length for my longer necklaces! I’d love to see your DIY version of this Jewelry Organizer, feel free to share and tag @angelamariemade on Instagram!
Follow along on Instagram or Facebook for my latest projects, as well as Pinterest!